
iRacing Setups: A Beginner's Guide to Settings in 2026
Get comfortable with iRacing setups, wheel calibration, force feedback, fixed races, and cockpit settings. Build a stable baseline before your next race.
Jump to
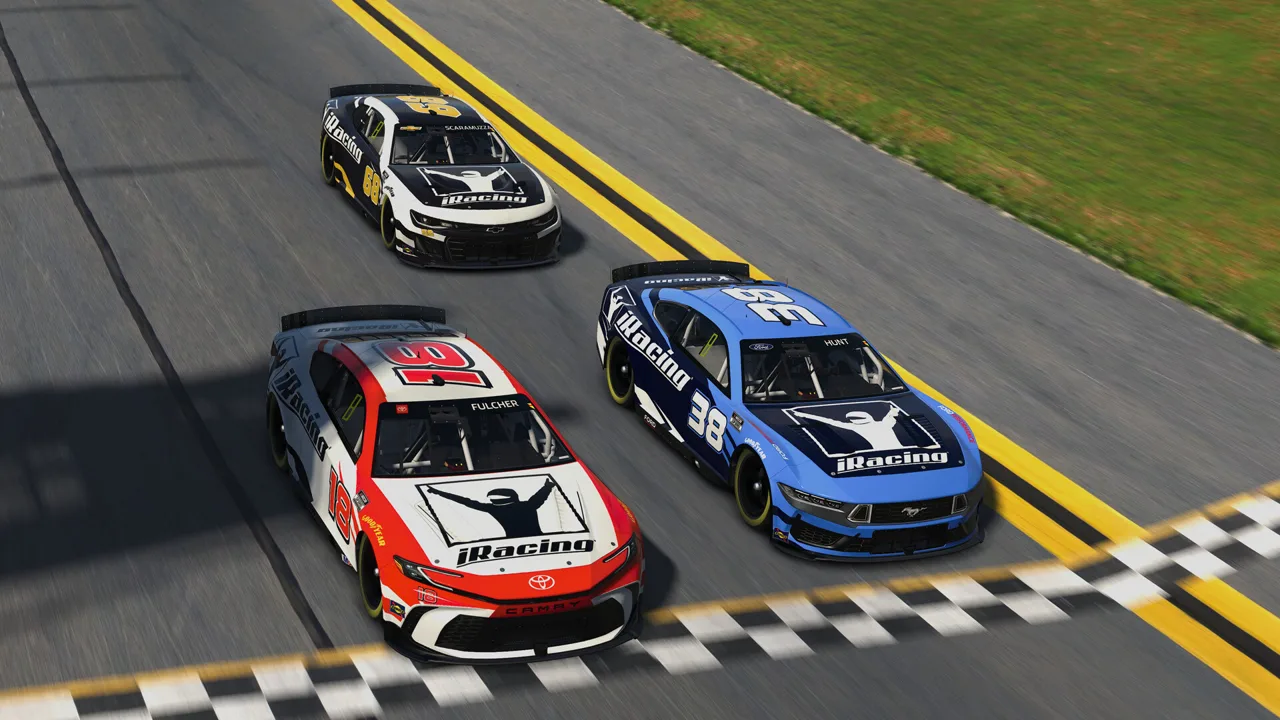
Start With Fixed Racing and a Stable Baseline
A predictable car makes learning braking points much easier. Getting comfortable with iRacing setups starts with choosing a suitable garage baseline and calibrating the controls that connect you to the car. Begin with a fixed series so you can practice consistent laps while keeping garage adjustments out of the equation.
Fixed events restrict vehicle setup changes.
Your wheel calibration, force feedback, cockpit view, and interface still deserve attention in either format. Those settings determine whether you can brake consistently, judge distance, and notice nearby traffic.
Choose a Garage Baseline That Matches the Current Car
Open the garage to find the included vehicle setups. Start with an appropriate current baseline before experimenting with individual adjustments.
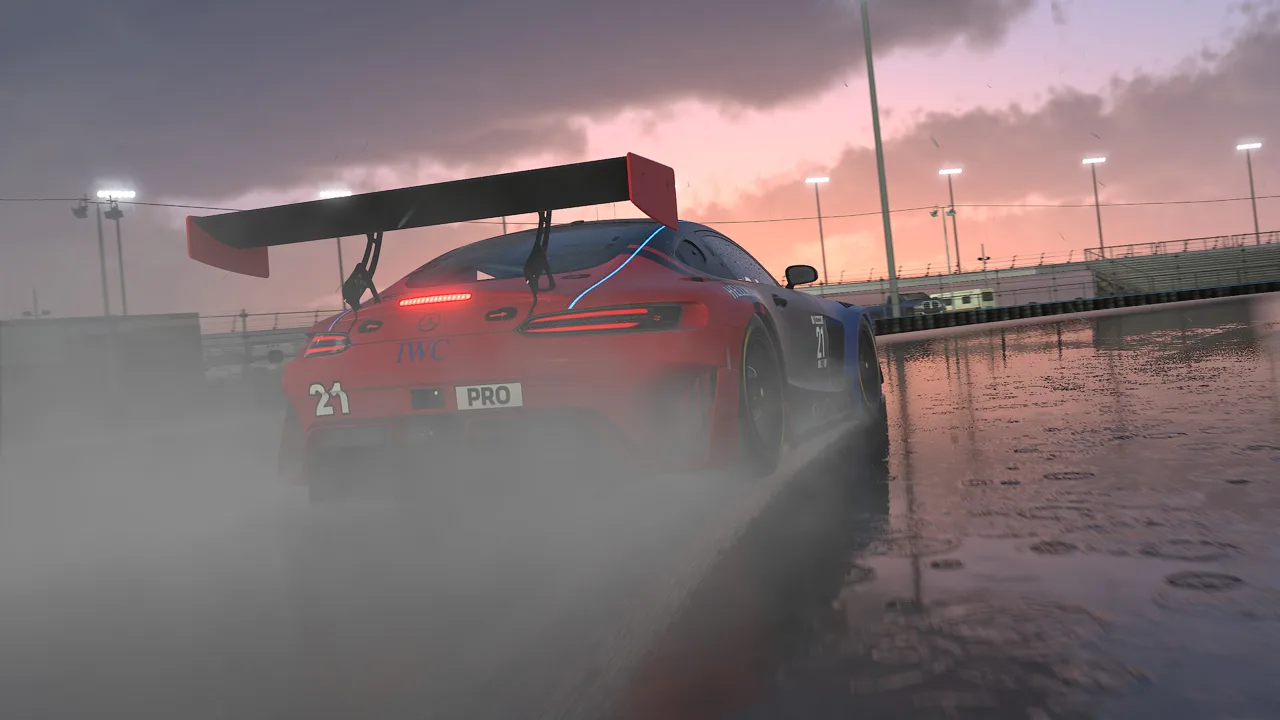 Image: Steam / iRacing.com Motorsport Simulations
Read the garage tooltips and open your car’s user manual to understand its available adjustments. Different cars have different suspension, aerodynamic, and electronic controls, so a setting from one vehicle isn’t a universal prescription.
Keep these version changes in mind when returning to an older favorite:
- 2026 Season 4: The Global Mazda MX-5 Cup received a significant vehicle mechanics overhaul. Relearn its behavior before judging it against older practice sessions.
- 2026 Season 4 Patch 2: Supplied Dirt Big Block Modified setups were updated to resolve ride height failures.
Major physics changes can also invalidate older files. The 2025 Season 4 GT4 overhaul made previously created setups obsolete, and the BMW M4 GT3 EVO update prevented older setups from loading.
When the car feels different after an update, load its current supplied baseline before trying to recreate your old handling balance. Change one available adjustment at a time and compare repeatable laps under similar conditions.
Calibrate Your Wheel, Pedals, and Essential Buttons
Complete control calibration before tuning the car. Incorrect steering alignment or a brake input that never fully releases can undermine every practice lap.
 Image: www.iracing.com
Steering and Pedal Calibration
Follow the steering wizard through its full sequence:
- Turn the wheel fully in each direction as instructed.
- Return it carefully to center.
- Complete the requested 90-degree left turn.
- Return to center and finish calibration.
Check that the physical wheel and simulated steering movement agree. If they don’t, revisit calibration before changing force feedback.
For the pedals, complete the throttle, brake, and clutch prompts with deliberate inputs. Release each pedal fully when instructed, then watch the input display to make sure it returns to zero.
Enable the load-cell option only when your brake uses a load cell. Avoid copying another driver’s brake configuration simply because you use the same car.
If light pressure from your resting foot activates the brake, adjust the pedal’s dead zone through calibration or its configuration software. Confirm that the brake input clears on the straights.
Map Controls You Can Find Without Looking
Keep frequently used actions within easy reach:
- Relative display: Assign a convenient wheel button so you can check nearby traffic.
- Next and previous black box: Use buttons or a rotary to move between information panels.
- Look left and right: Map these when using a single monitor.
- Pit speed limiter: Assign it for cars equipped with one.
- Windshield wipers: Keep them accessible when practicing rain-capable cars.
- Voice chat mute: Give yourself a quick way to remove distracting conversation.
Map enter, exit, and tow somewhere accessible but away from buttons you might press accidentally.
The Controls Profiles feature introduced in 2026 Season 3 lets you save and load control configurations. Use separate profiles when your cars require different button arrangements.
Set Force Feedback for Clear Steering Detail
Force feedback should help you recognize steering load and changes in grip. Start with manageable strength, then increase it gradually while driving clean laps.
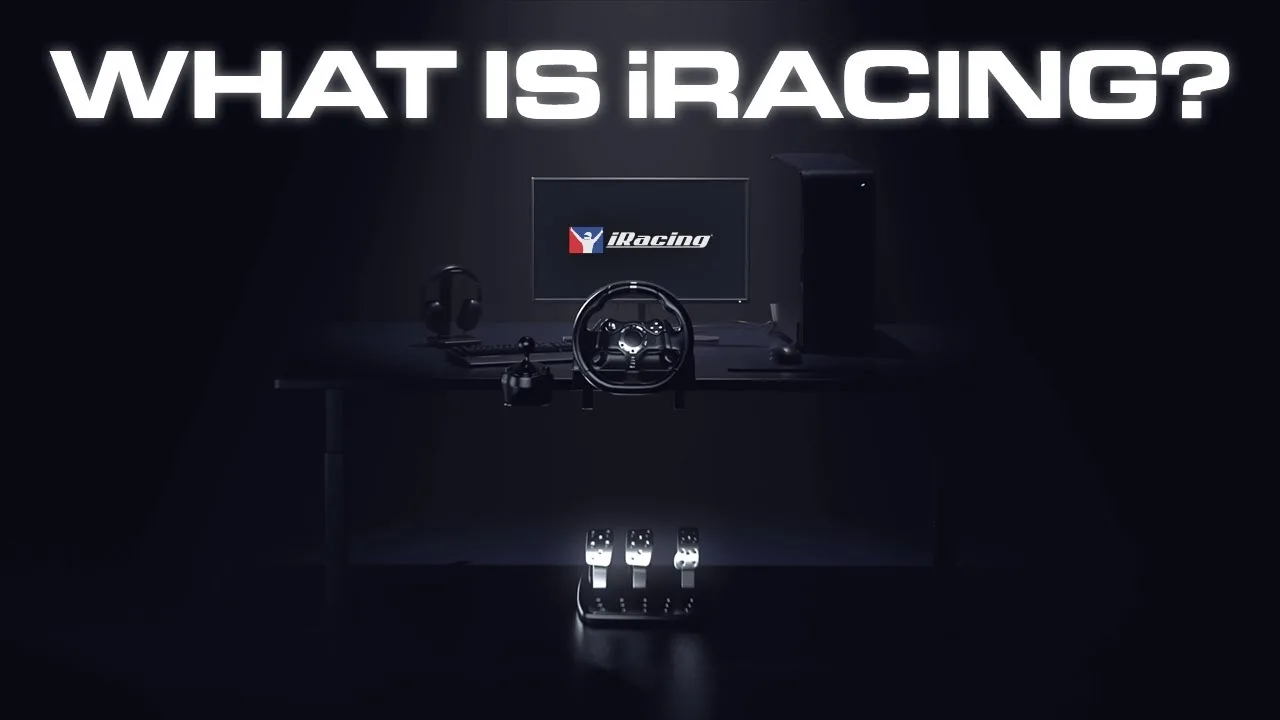
The key settings serve different purposes:
| Setting | Starting Point | What to Watch |
|---|---|---|
| Force feedback | Enabled | Steering forces should respond while driving |
| Wheel Force | Match the wheelbase’s configured torque capability | Keep this accurate before using automatic strength |
| Reduce force when parked | Enabled | Reduces steering force while stationary |
| Automatic strength | Use after representative clean laps | Reassess comfort and steering detail afterward |
| Max Force display | Increase the value to lighten steering | Its direction is opposite to a strength slider |
Drive smoothly before selecting Auto. Avoid major impacts during that initial run so you can assess the wheel during normal cornering.
Treat the resulting strength as a starting point. If it feels too heavy, reduce the strength or increase Max Force, depending on the display mode you use. Recheck it when switching cars.
The Intensity setting influences automatic strength selection. Don’t interpret its percentage as a precise promise of physical torque at your hands.
Watch the force feedback meter while cornering. Red indicates clipping: the output has reached its limit, reducing the detail available in stronger forces. Reduce strength if normal cornering repeatedly produces sustained clipping.
Keep smoothing, damping, and minimum force unchanged initially unless your wheel needs a specific correction. Adjust one setting at a time so you can identify what improved the feel.
Set Field of View Around Your Actual Screen Position
Field of view changes how you judge distance and corner geometry. Calculate it using your display arrangement and viewing distance instead of copying a number from someone else’s rig.
A wide triple-screen view and a single monitor require different configurations.
Work through the cockpit view in this order:
- Set the correct display resolution and monitor configuration.
- Use the field-of-view calculator with your measurements.
- Adjust the horizon reference to align with your eye level.
- Adjust driver height for a usable cockpit position.
- Check that mirrors, instruments, and nearby traffic remain readable.
If a physically accurate single-screen view leaves limited peripheral visibility, use look-left and look-right controls alongside the mirror and spotter.
Mirror field of view is separate from the cockpit view. A wider mirror shows more behind you, while a narrower setting makes following cars appear larger. Adjust it while stationary, then practice judging closing traffic.
Reduce distracting head movement if it makes braking references difficult to follow. Keep the view consistent while learning a track.
Arrange the HUD and Audio Around Useful Information
Keep nearby traffic, flags, penalties, and pit instructions easy to see. Add more information when you have a clear reason to use it.
Press Alt-K to enter interface editing. You can reposition elements, adjust their presentation, and display widgets that normally appear only during specific situations.
Prioritize these elements:
- Relative: Time gaps to nearby cars on track.
- Mirror and spotter: Awareness of cars around you.
- Flags and penalties: Instructions that require immediate attention.
- Driver inputs: A way to spot unintended throttle or brake application.
- Fuel information: Consumption and remaining-fuel estimates.
Use the Relative display together with mirrors and the spotter before leaving the pits or rejoining. A time gap alone doesn’t show the full shape of the traffic around you.
The interface changed substantially during 2026. HUD Layout Profiles let you save layouts, and Season 4 added Minimal/Pinned mode and changed F9 into Quick Access. Use the current interface labels when an older tutorial’s menu arrangement differs.
Make Pit Service Choices Before You Need Them
For a short race where you already have enough fuel and don’t need tires, deselect those services before an unexpected stop. Otherwise, selected fueling or tire changes can add time even when the repair itself is fast.
Enable fast repair when the event provides it. Keep the Pit Summary visible while learning pit procedures so you can follow the requested work and repair information.
Keep Important Audio Audible
Select your intended output device for game sound, voice chat, and the spotter. Confirm those devices again if sound disappears after a device change.
Balance engine and tire audio so you can hear grip-related cues without drowning out the spotter. Bind volume controls if you need to adjust levels during a session.
Tune Graphics for Demanding Race Conditions
Test graphics with other cars around you. A smooth solo session doesn’t demonstrate how your system handles a crowded grid, mirrors, weather, and lighting together.
Start by checking resolution, then adjust visual detail while watching the frame-rate and system meters. Lower detail when performance becomes inconsistent, and repeat the check under the conditions you intend to race.
Keep important visual information readable:
- Braking markers and track edges.
- Cars approaching in mirrors.
- Flags, penalties, and pit-speed instructions.
- Traffic through spray or changing light.
Avoid copying an entire graphics configuration from a different computer. Display count, resolution, VR use, and the session itself all affect rendering demands.
Configure the driving experience before spending time on replay visuals. A photo-friendly replay configuration serves a different purpose from a race you need to control consistently.
Practice With the Event’s Conditions Before Registering
Launch Test Drive from the series page when preparing for that event. This carries over the series’ configured conditions and gives you a closer practice environment than an unrelated solo session.
Follow a focused practice sequence:
- Run solo laps: Confirm steering alignment, pedal release, cockpit visibility, and comfortable force feedback.
- Build repeatable pace: Compare several clean laps rather than judging a change by one exceptional lap.
- Practice around traffic: Use open practice or supported AI racing to work on starts, passing, and defending.
- Rehearse pit entry and exit: Follow the speed limit, marked exit route, and session instructions.
- Register deliberately: Confirm whether the button enters practice or the actual race.
Use results from a comparable field to set a useful pace target. Average laps provide more context than a single fastest lap, especially when drafting or mistakes affect the session.
Before entering the race, stop changing settings and complete a clean run with the configuration you plan to use. Give yourself time to recognize how the car responds before adding the pressure of competition.
Continue with
 iRacing VR Settings: Sharper Views and Smoother RacesSet up iRacing VR with OpenXR, understand eye tracking requirements, improve cockpit clarity, and compare Quest 3 and Dream Air for your headset upgrade.
More in Settings
iRacing HUD Settings: Customize Your Racing Display
Customize your iRacing HUD with movable widgets, clear relative timing, useful wheel bindings, and saved layouts. Build a cleaner display for race day.
iRacing Settings Guide: Better FFB, Brakes, and FPS
Use this iRacing settings guide to calibrate your wheel and pedals, tune force feedback, improve FPS, and set up your cockpit view before your next race.
Continue exploring
Join the community
Official channels for news, updates and player help: