
iRacing Settings Guide: Better FFB, Brakes, and FPS
Use this iRacing settings guide to calibrate your wheel and pedals, tune force feedback, improve FPS, and set up your cockpit view before your next race.
Jump to
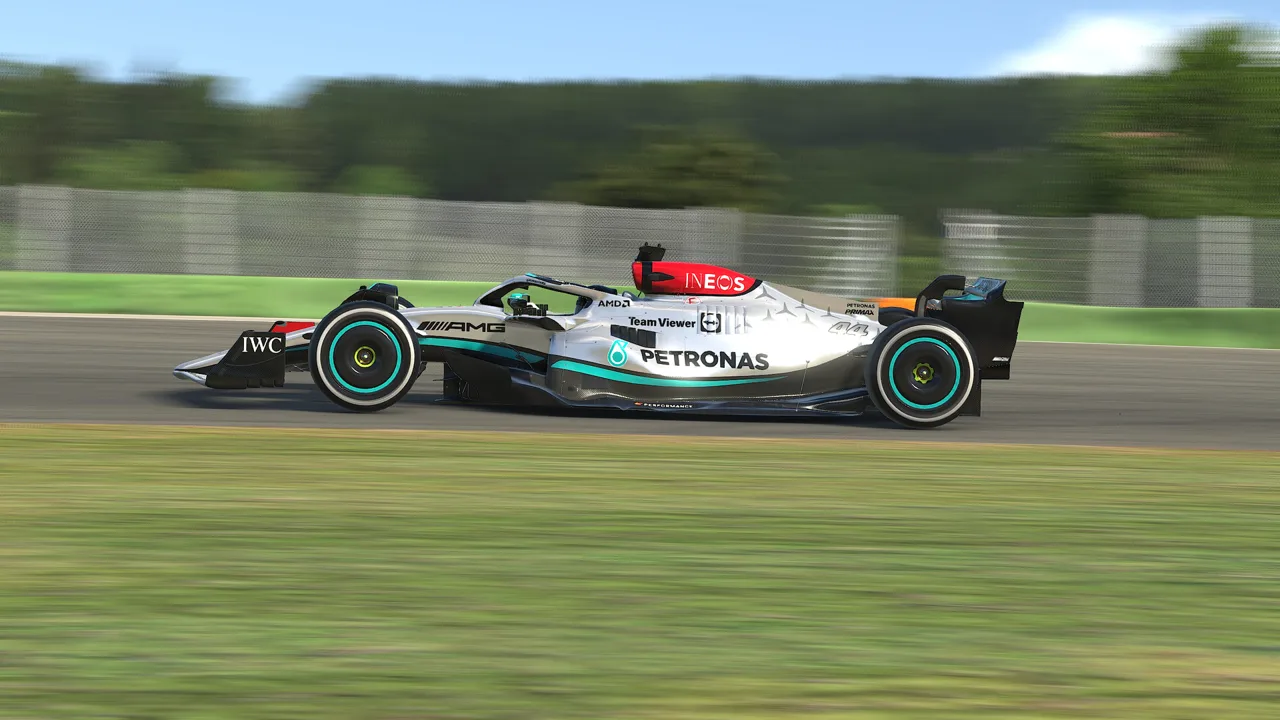
Start With Wheel and Pedal Calibration
A dragging brake or mismatched steering angle can undermine an otherwise clean lap. This iRacing settings guide walks you through controls, force feedback, graphics, and cockpit visibility so your inputs stay predictable. Start with calibration, then make adjustments in Test Drive before entering a race.
Choose a car and track you own, launch Test Drive, and open the simulator’s settings.
Match Your Steering Range
Both your wheel software and iRacing need to agree on steering rotation. A 900° range is used in both driving profiles covered here, but calibration still matters.
Follow the steering wizard:
- Turn the wheel fully left and right as prompted.
- Return it accurately to center.
- Follow the remaining prompts and finish calibration.
Check that your physical steering movement matches the cockpit wheel before hiding its animation. Fix a mismatch through calibration rather than compensating with your driving.
Calibrate Pedals Before Changing Their Curves
Calibrate the throttle, brake, and clutch you actually use. Enable Load Cell Brake Pedal only if your brake uses a load cell.
Start with linear pedal curves in compatible pedal software. Then watch the input display:
- Release the pedals and check for unwanted input.
- Press the throttle fully and confirm it reaches full output.
- Apply the brake progressively and check that you can release it smoothly.
- Add only enough dead zone to remove accidental input or accommodate your usable pedal travel.
A large brake dead zone removes part of the initial input range. Keep it small enough that you can still control the final release during trail braking.
Choose Brake Pressure You Can Repeat
There is no single brake-force target to copy. The two Heusinkveld Ultimate+ configurations here use substantially different maximum-force settings: 34 kilograms and 57 kilograms.
Set your brake pressure around repeatability. Practice reaching different input levels and gradually releasing the pedal into a corner. Reduce the required pressure if you struggle to modulate it comfortably; increase it if the pedal reaches maximum output too easily.
For the throttle, adjust the upper dead zone if your comfortable full press consistently falls short of full output. Confirm the result in the input display before driving.
Keep the Brake Cap Separate From Calibration
Start with 100% Max Range so the full braking range remains available. An 80% cap is an optional adjustment to test for a particular car and driving style.
A cap limits your maximum brake command. It does not automatically find the tire’s grip limit, and the useful braking input changes with the car and conditions.
If you test a lower cap, compare braking distance, lockups, and pedal release in the same car. Keep the setting specific to that car rather than applying it across everything you drive.
Official page: iRacing (iracing.com)
Tune Force Feedback Without Losing Cornering Detail
Set force feedback so you can feel changes in steering load while retaining enough control to make corrections. Excessive weight can make those corrections harder.
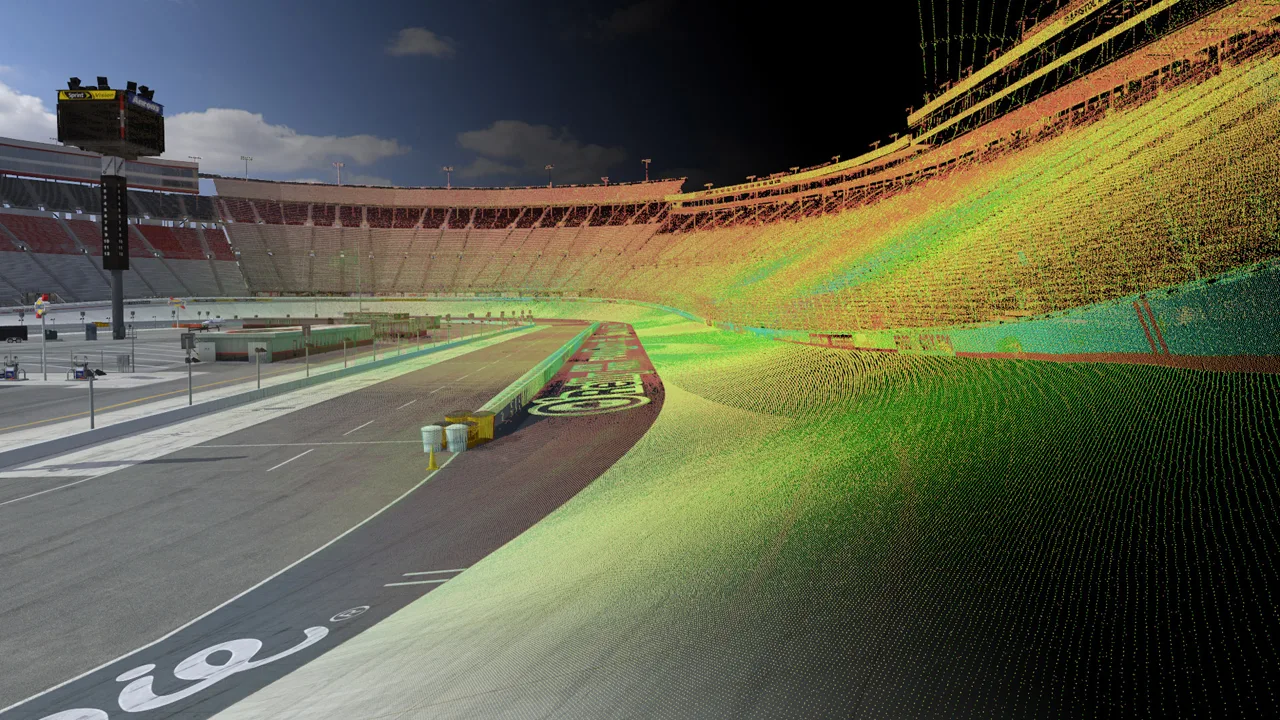 Image: Steam / iRacing.com Motorsport Simulations
For a direct-drive wheel, use these starting points:
- Enable force feedback.
- Enable linear mode.
- Enable Reduce Force When Parked.
- Check the detected Wheel Force against your wheelbase.
- Start with zero in-game minimum force.
- Start with zero in-game smoothing and damping, then adjust deliberately.
The direct-drive configurations here handle their filtering differently in wheelbase software. Avoid stacking adjustments in both applications at once: change one setting, drive, and judge its effect.
Understand Wheel Force, Strength, and Max Force
Wheel Force describes your wheelbase’s torque capability. Strength or Max Force controls how the simulated steering forces are scaled.
When the adjustment is displayed as Max Force in Nm, increasing the number makes the wheel feel lighter. That number is not a command for your wheelbase to produce the displayed torque.
Keep this distinction in mind when comparing settings. A Max Force value shown for a GTP car cannot be read as the driver’s actual steering-wheel torque.
Use Auto After Representative Driving
Drive clean laps that include normal cornering loads, then use the Auto force-feedback adjustment when it becomes available.
The Intensity setting affects the automatic adjustment. If Auto produces steering that feels too heavy, lower Intensity and reassess it. Do not interpret an Intensity percentage as an exact percentage of physical wheel torque.
Watch the force-feedback meter during loaded corners. Reduce Strength—or increase Max Force when using that display—until cornering detail remains readable.
Recheck the result when changing cars. Different steering loads make a single copied value a poor substitute for testing.
Set FOV and Cockpit Position for Your Screens
Field of view changes the apparent scale of the track. Cockpit position changes where you sit inside the car. Adjust them separately.
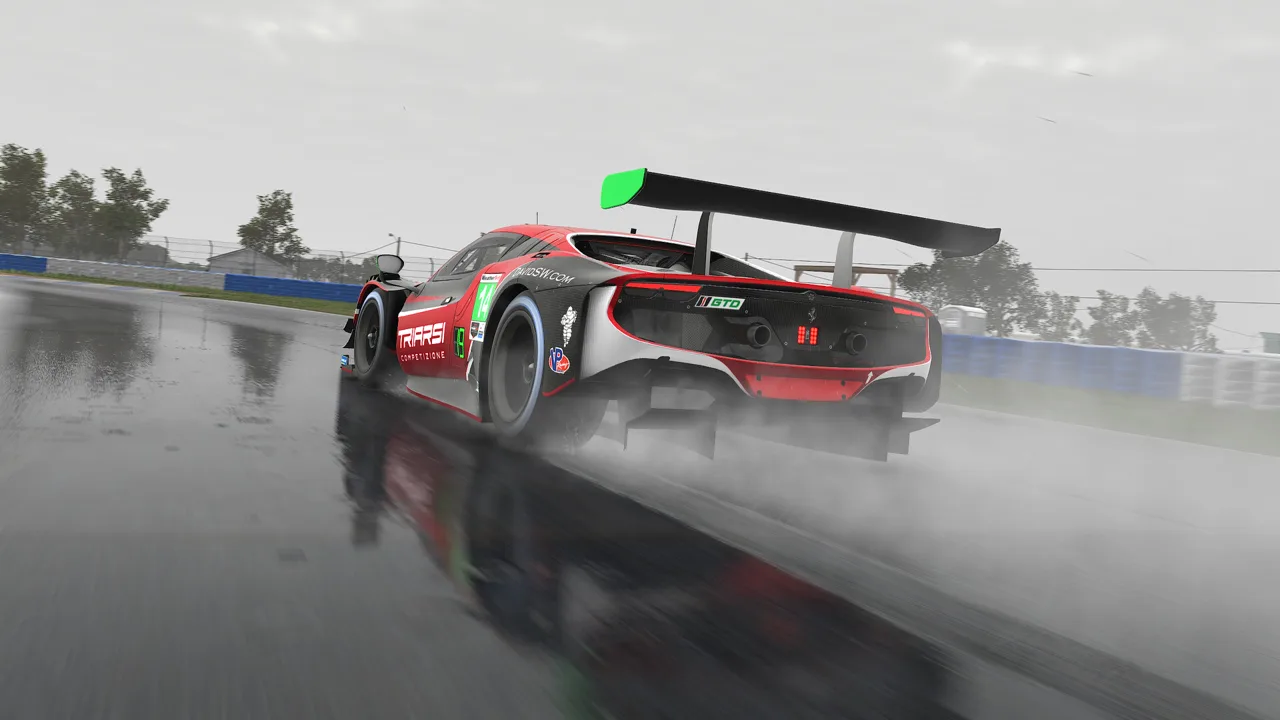 Image: Steam / iRacing.com Motorsport Simulations
Enter Your Display Measurements
Use iRacing’s display configuration and FOV calculator with your actual screen measurements and viewing distance.
For triple monitors, enter the relevant screen dimensions, angles, and bezel information. For curved displays, include the curvature information requested by the configuration.
A 160° FOV used on a triple-screen rig is specific to that display arrangement. Copying it onto a single monitor changes the view without reproducing the same geometry.
Set the display geometry first, then assess whether braking markers, corner approaches, and nearby cars are comfortably visible.
Adjust Seating With the Camera Tool
Open the Camera Tool from the session screen or with Ctrl+F12. Adjust the cockpit camera position, then save the car’s camera configuration.
Use driver height and horizon adjustments to improve your view over the dashboard. If you already have a physical steering wheel and external display, try a static or hidden virtual wheel to reduce duplicated cockpit elements.
Keep the instruments you depend on visible, whether they are on the car’s dashboard, your hardware, or the HUD.
Test Head Motion on a Bumpy Track
Neck motion affects how the cockpit moves relative to your view. Low settings can create a more fixed seating sensation, while additional movement changes how bumps appear.
Test this on a rough circuit such as Sebring or Road Atlanta. Adjust it around visual comfort and your ability to follow the track through bumps.
Adjust Graphics Around Stable Race Performance
Tune graphics with traffic and weather in mind. A clear solo lap does not reproduce the workload of a crowded grid, mirrors full of cars, or rain.
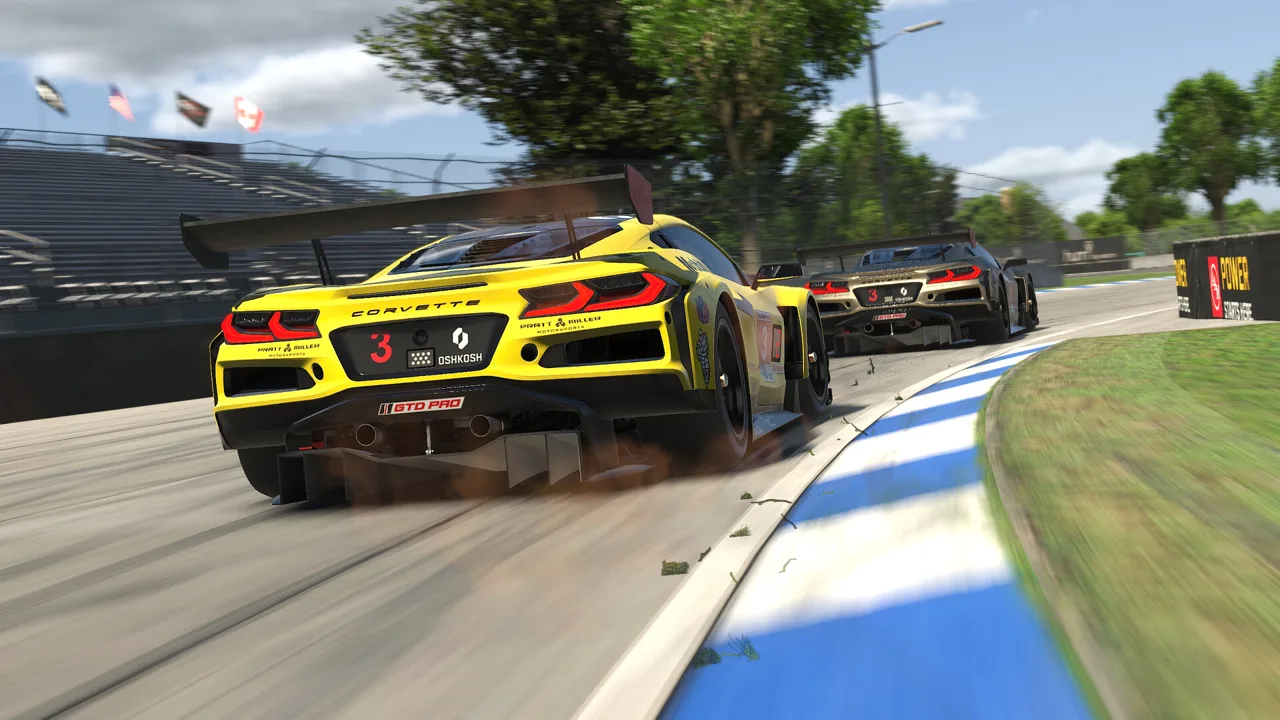 Image: Steam / iRacing.com Motorsport Simulations
Use the following values as a performance-focused starting point, then restore visual detail where your system has room.
| Setting | Starting value | Purpose |
|---|---|---|
| Shader Quality | Medium | Retains more visual detail than Low |
| Two-Pass Trees | Off | Reduces tree-rendering work |
| High Quality Trees | Off | Reduces scenery detail |
| Shadow Maps | Off | Removes a graphics workload |
| Higher Detail in Mirrors | Off | Reduces mirror detail |
| Screen Space Reflections | Rain only | Retains reflections for wet conditions |
| Anti-Aliasing Method | FXAA | Provides an alternative to compare with MSAA and SMAA |
| Frame Rate Limit | A sustainable target near your monitor’s refresh rate | Keeps your performance target consistent |
Compare Anti-Aliasing While Driving
FXAA is one option to test for performance. Compare it with the other available methods using the same scene, paying attention to distant track edges, fences, and braking markers.
Choose the result that preserves useful visibility while meeting your frame-rate target. Avoid selecting an option solely because it looks cleaner in a stationary screenshot.
Reduce Car Detail Carefully
Rendering more cars increases the workload, especially in traffic. A 20-car setting is used in one performance-focused configuration, while higher settings allow more cars to be represented.
Test reductions against your actual racing needs. Check nearby traffic, mirrors, and replay coverage rather than assuming fewer cars is an improvement in every situation.
Choose Fullscreen or Borderless Around Your Overlays
External overlays can require a windowed display configuration. Turning off Fullscreen and Border provides the borderless arrangement used in the configurations here.
Compare that mode with fullscreen on your own system. Keep external overlays enabled during the comparison if you intend to race with them.
A frame-rate cap of 180 FPS matches the 180 Hz triple-screen configuration described here. Use your own display refresh rate and sustainable performance when choosing a cap.
Build a HUD That Keeps Race Information Visible
The 2026 Season 2 update introduced HUD Layout Profiles, the Visual Spotter, and a throttle/brake timeline.
Press Alt+K to edit the HUD layout. Display normally hidden elements while arranging it so penalty notices and flags have a usable position when they appear.
Keep these items readable:
- Relative: Nearby cars and their time gaps.
- Mirrors and spotting information: Traffic alongside and behind you.
- Flags and penalties: Instructions requiring a response.
- Fuel information: Remaining fuel and stint planning.
- Throttle/brake display: Input checks during practice.
Use the Relative together with mirrors and spotting information when assessing traffic. A time gap alone does not show the complete situation around your car.
Save Layouts for Different Needs
Use HUD Layout Profiles to retain layouts for individual cars or classes. Season 4’s Minimal mode also lets you strip the interface down while keeping selected widgets pinned.
For endurance racing, make room for fuel and pit information. For practice, expose the throttle/brake timeline so you can inspect pedal release without filling the racing layout with extra panels.
The Car Damage Widget expanded to all cars in 2026 Season 4 Patch 1. Keep it accessible when evaluating the car after contact.
Select a Useful Delta Reference
Use Session Best Lap when comparing laps within the same session. An all-time best can reflect different weather and track conditions.
As tires wear, try comparing against the previous lap to assess your current pace. Hide the delta if watching it starts pulling your attention away from braking and traffic.
Map Controls Before You Need Them
Bind the controls you need while driving, then confirm they work in the selected car.
Prioritize:
- Shift up and down.
- Enter/Exit/Tow Car.
- Pit speed limiter, where fitted.
- Next and previous black box.
- Relative black box.
- Black-box selection and adjustment controls.
- Windshield wipers or tear-off.
- Brake bias and traction-control adjustments, where available.
Keep frequently used controls within easy reach. Place Enter/Exit/Tow somewhere accessible without making it easy to press accidentally.
Separate Driving Aids From Car Systems
Auto clutch, auto blip, engine start, wipers, and tear-off settings reduce the number of actions you must manage. Choose the aids you need, then practice their behavior.
Brake assist and throttle assist affect your inputs. Keep their use deliberate when learning pedal technique.
A car’s own ABS and traction control are separate systems. Adjust the controls available in that car rather than assuming every vehicle shares the same functions.
Check Pit Service Selections
Before a race, review fuel and tire service selections. Unwanted refueling or tire changes can extend a stop even when a fast repair itself is instantaneous.
If the event provides fast repairs and you intend to use one, check that selection too. Keep necessary fuel and tire service enabled for races that require them.
Balance Audio and Add Apps With a Clear Purpose
Set the simulator’s playback device explicitly, then check voice-chat and spotter devices separately.
Make tire audio audible against the engine. It provides another cue about grip when your physical feedback is limited to the wheel and pedals.
Lower ambient and wind sounds if they obscure information you use. Keep spotting calls intelligible if you rely on them, and bind voice-chat mute so you can silence distracting conversations without opening settings.
If audio disappears, check whether the selected output device has become disconnected.
Choose Optional Apps by Function
Add an application when you need its particular function:
- Trading Paints displays custom liveries.
- RaceLab provides external overlays.
- Garage 61 supports telemetry review and lap comparisons.
Check iRacing’s built-in widgets before duplicating fuel, map, or relative displays with an external overlay.
For telemetry, compare braking traces, throttle application, and racing lines. Focus on the corner where your inputs differ rather than changing several hardware settings after every slower lap.
Enable Ask to Save Replay on Quit if you regularly forget to retain races you want to review.
Fix Specific Issues and Validate Your Changes
2026 Season 4 Patch 2, build 2026.11.02.01, fixed a triple-screen HUD-profile saving crash and a Camera Tool issue that restricted the available FOV range until Settings was opened. Install that patch before troubleshooting those particular behaviors.
Simucube Active Pedals With Another Wheelbase
If you use Simucube active pedals without a Simucube wheel and force feedback is being switched off incorrectly, Patch 2 adds a targeted configuration option:
[Force Feedback] simucubeTreatLinkPortAsWheel=0
This blocks iRacing from checking the Simucube link port for a connected wheel. Use it for that hardware combination and symptom.
Isolate Performance Problems
Change one graphics option at a time and return to the same demanding scene. If frame rate drops mainly around traffic, test car counts and mirror detail. If a borderless setup struggles, compare display modes with the same overlays running.
Avoid changing pedal calibration, FFB filters, and graphics together. Separate adjustments let you identify which change improved control or performance.
Test the Whole Race Routine
Before entering competition, check steering alignment, full throttle, clean brake release, spotting information, and pit controls. Then use an AI race, where the car and track support it, to exercise the layout and graphics settings with traffic around you.
Continue with
 iRacing Setups: A Beginner's Guide to Settings in 2026Get comfortable with iRacing setups, wheel calibration, force feedback, fixed races, and cockpit settings. Build a stable baseline before your next race.
More in Settings
iRacing HUD Settings: Customize Your Racing Display
Customize your iRacing HUD with movable widgets, clear relative timing, useful wheel bindings, and saved layouts. Build a cleaner display for race day.
iRacing VR Settings: Sharper Views and Smoother Races
Set up iRacing VR with OpenXR, understand eye tracking requirements, improve cockpit clarity, and compare Quest 3 and Dream Air for your headset upgrade.
Continue exploring
Join the community
Official channels for news, updates and player help: