
iRacing HUD Settings: Customize Your Racing Display
Customize your iRacing HUD with movable widgets, clear relative timing, useful wheel bindings, and saved layouts. Build a cleaner display for race day.
Jump to
How to Move and Resize Your HUD
Keep traffic gaps visible without covering the next apex. Your iRacing HUD puts nearby cars, pit instructions, and driving inputs within a quick glance. Start with Alt+K inside an on-track session to arrange the display around the information you actually use.
The current Sim UI supports moving elements, enabling or disabling movable widgets, changing virtual mirror size, and adjusting UI scale and opacity.
Set up your layout while stationary in Test Drive:
- Load into the session and enter the car.
- Press Alt+K to open the HUD editing controls.
- Drag the Relative display, timing information, and other widgets into position.
- Adjust widget sizes and the virtual mirror size using the available editor controls.
- Change scale and opacity until text is readable against the track.
- Press Alt+K again to return to driving.
Editing mode also exposes elements that normally appear only under particular conditions, including some system warnings. Seeing additional boxes while editing does not mean they will all remain on screen during a race.
Leave room for those temporary messages. Positioning everything around an empty practice screen can create overlaps when start lights, pit instructions, or warnings appear.
Official page: iRacing (iracing.com)
Choose Which Widgets Stay Visible
Build the layout around traffic awareness, session information, and the car’s condition. Add detailed timing and input displays when you have a specific use for them.
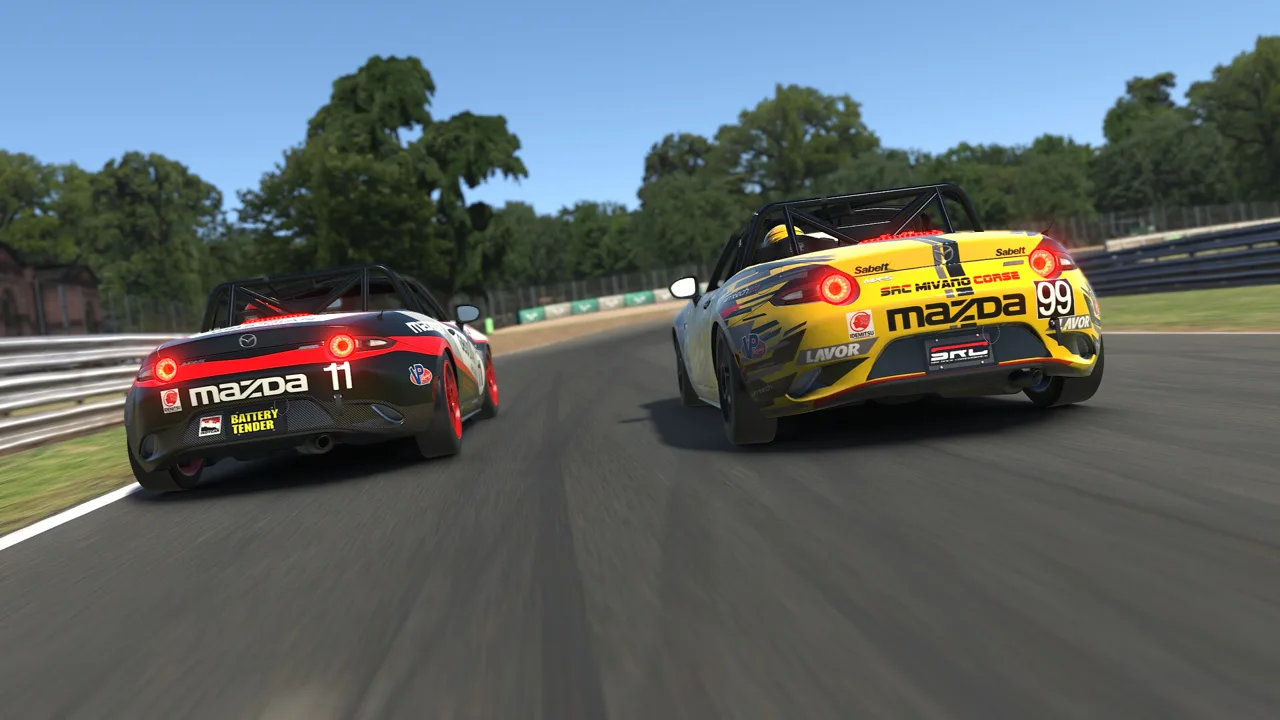 Image: Steam / iRacing.com Motorsport Simulations
| Widget or display | Information it provides |
|---|---|
| Relative | Time gaps to nearby cars ahead and behind |
| Standings | Race order and additional driver information |
| Session Info | Session information, including laps or time remaining |
| Visual Spotter | Proximity information using the same data as the traditional spotter |
| Fuel Calculator | Fuel estimates and stint calculations |
| Incident Tracker | Incident information during the session |
| Track Map | A map showing vehicles around the circuit |
Place the Relative somewhere you can read with a short glance. A lower corner is a practical starting position; move it if the cockpit or another widget interferes.
Use Relative and Standings for different questions. Relative helps you understand nearby traffic. Standings tells you where drivers sit in the race order. A car approaching on track is not necessarily your next opponent for position.
Keep the virtual mirror clear of the delta bar and session widgets. After enlarging the mirror, move anything that overlaps its new footprint.
The built-in Visual Spotter supplies another way to notice cars alongside you, particularly on a single monitor. It uses spotter information rather than functioning as a radar. Combine it with mirrors and the Relative display when assessing traffic.
Before rejoining after a spin, check the approaching gaps and look for traffic. Avoid treating one displayed time gap as automatic permission to return to the racing line.
Bind Black Box Controls to Your Wheel
Arrange the controls as carefully as the widgets. Cycling through menus with a mouse becomes awkward once you need both hands for driving.
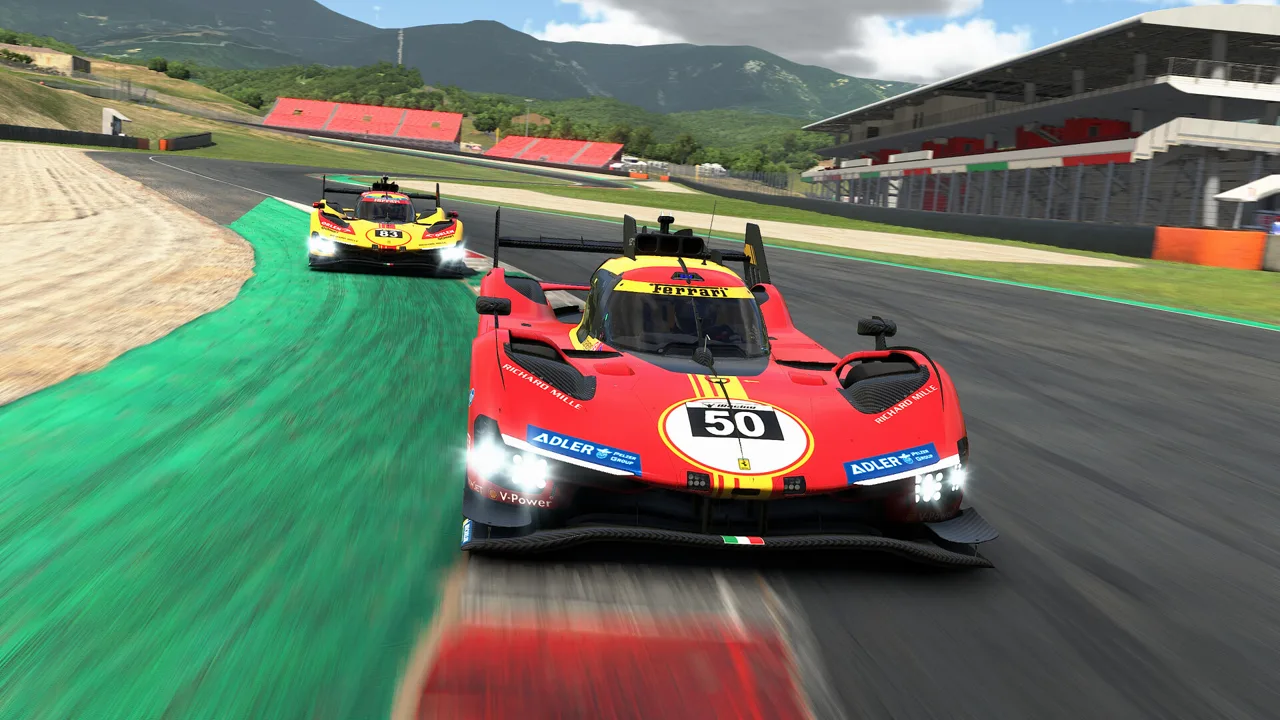 Image: Steam / iRacing.com Motorsport Simulations
In the simulator’s keybind settings, assign:
- Next Black Box to move forward through the pages.
- Previous Black Box to move backward.
- Relative Black Box to return directly to nearby traffic information.
Use a rotary control for cycling if your wheel has one, or assign two accessible buttons. Put the Relative binding within easy thumb reach.
The Relative button also toggles that display: pressing it while Relative is already selected can hide it, and pressing it again brings it back. Remember this behavior if the box seems to disappear unexpectedly.
Test the bindings while parked. Cycle away from Relative, return with its dedicated button, then toggle it off and on. Confirm that each action works before joining a race.
The F9 page has changed, too. In 2026 Season 4, the old graphics-adjustment black box became Quick Access, grouping frequently used options into a reorganized panel. Look there when an older tutorial directs you to the former F9 graphics page.
Save HUD Layout Profiles and Use Minimal Mode
HUD Layout Profiles arrived in 2026 Season 2, allowing layouts to be saved, shared, and tailored to individual cars or classes. 2026 Season 4 added Minimal mode and the ability to keep selected elements pinned.
 Image: Steam / iRacing.com Motorsport Simulations
Use profiles when cockpit visibility changes between cars. A panel that fits neatly beside one dashboard can cover useful information in another.
Create layouts around distinct tasks:
- Racing: Keep nearby traffic, session information, and relevant car information readable.
- Practice: Add the throttle/brake timeline and lap comparison displays.
- Replay review: Keep driving inputs visible while reducing unrelated interface elements.
Save each arrangement through the HUD profile controls. Set a default profile for a car when you want that layout associated with it.
Use Minimal mode to reduce the interface while retaining the essentials and selected pinned widgets. Pin the information you still need before switching modes, then inspect the result while stationary.
During replays, Space toggles the interface off and on.
Configure Pit Summary and Car Damage
2026 Season 4 Patch 1 expanded the Car Damage widget to all cars. Each car can display its wireframe representation and damage information, extending the feature beyond its original limited selection.
Use the damage display to understand the general condition of the car after contact. Its color-coded representation gives a practical assessment rather than an exact measurement of every damaged component.
Keep Pit Summary readable for races where service matters. It brings together estimated service durations, damage assessments, active service selections, and a visual indicator for your pit stall.
Before a stop, review the services you have selected:
- Disable refueling when you do not need additional fuel.
- Deselect tire changes when you do not want new tires.
- Enable a fast repair when one is available and you intend to use it.
A fast repair does not eliminate the time required for other selected services. Unwanted fueling or tire changes can still leave you sitting in the stall.
In 2026 Season 4 Patch 2, pit-error messages became an option in Pit Summary. That option defaults to off, with the messages initially appearing in the Pit Speed widget. If both pit errors and the pit lane map are enabled there, error messages replace the map while displayed.
Leave enough space around these widgets to read instructions such as incorrect stall positioning. Practice entering your stall before relying on a tightly packed layout during a race.
Use Input Traces and the Force Meter in Practice
The Throttle/Brake Timeline displays pedal inputs over time. Use it to examine how you build brake pressure, release the pedal, and return to the throttle through a corner.
The timeline gained a Graph Length option supporting up to 30 seconds in 2026 Season 2 Patch 2. That update also added horizontal graph lines to make values easier to read. Patch 3 added an ABS line highlight.
Choose a graph length that keeps the corner you are studying visible. Review the trace for abrupt brake releases or repeated throttle corrections, then work on one input at a time.
Press F to bring up the performance meter that can include the force-feedback indicator. Watch the F bar when adjusting steering strength. Red indicates clipping, where the requested force exceeds the available output range and additional force detail is lost.
Use the force-feedback Auto function after driving enough for its button to appear. Then adjust the result for comfortable steering effort and monitor clipping. Avoid treating another driver’s torque setting as a universal target.
If the adjustment is displayed as Max Force, increasing that number makes the steering lighter. Remember that direction when making changes through the in-car controls.
Fix Missing Widgets, Overlaps, and Profile Problems
Start with the editor and visibility controls when something disappears. Resetting the entire layout should come after checking the individual element.
Relative has vanished: Press its dedicated binding again. If it remains missing, open Alt+K and check whether it is disabled or positioned outside your usable view.
A widget appears only while editing: Some elements activate only when their associated event occurs. Position them in editing mode so they have a clear place when needed.
The mirror covers the delta bar: Move the timing display after changing mirror size. Inspect both together from your normal driving position.
Text is difficult to read: Increase the relevant scale or opacity. The Incident Tracker and Session Rules elements use 100% opacity following a 2026 Season 3 Patch 2 change, so they will not behave like every other transparent widget.
The layout is difficult to recover: Use the interface’s reset option to return to its default arrangement, then rebuild and save a profile.
Saving a profile crashes a triple-monitor session: Install 2026 Season 4 Patch 2 or a later build. That patch addressed a crash when saving HUD profiles with triple monitors rendered separately.
After making changes, return to Test Drive and check the layout from the cockpit. Test the Relative binding, cycle the black boxes, and make a practice pit stop so temporary displays have a chance to reveal any remaining overlaps.
Continue with
 iRacing Settings Guide: Better FFB, Brakes, and FPSUse this iRacing settings guide to calibrate your wheel and pedals, tune force feedback, improve FPS, and set up your cockpit view before your next race.
More in Settings
iRacing Setups: A Beginner's Guide to Settings in 2026
Get comfortable with iRacing setups, wheel calibration, force feedback, fixed races, and cockpit settings. Build a stable baseline before your next race.
iRacing VR Settings: Sharper Views and Smoother Races
Set up iRacing VR with OpenXR, understand eye tracking requirements, improve cockpit clarity, and compare Quest 3 and Dream Air for your headset upgrade.
Join the community
Official channels for news, updates and player help: